


ORIGIN: Preparing for the Exhibition
My work will be at Illuminate Studio for July, for their inaugural exhibition Origin. Here is my preparation for the exhibition.

I’ve been a part of exhibitions in the past. Exhibiting my work at The Gallery Box in Felixstowe twice last year. Also I exhibited my work as part of my degree back in 2015. So, I have a little knowledge of showing my work and thought it be interesting to talk about the process of planning of this and the images I have chosen, why and the thought process behind how I selected and got it all ready to exhibit my work.
Theme – Origin

What did the theme mean to me?
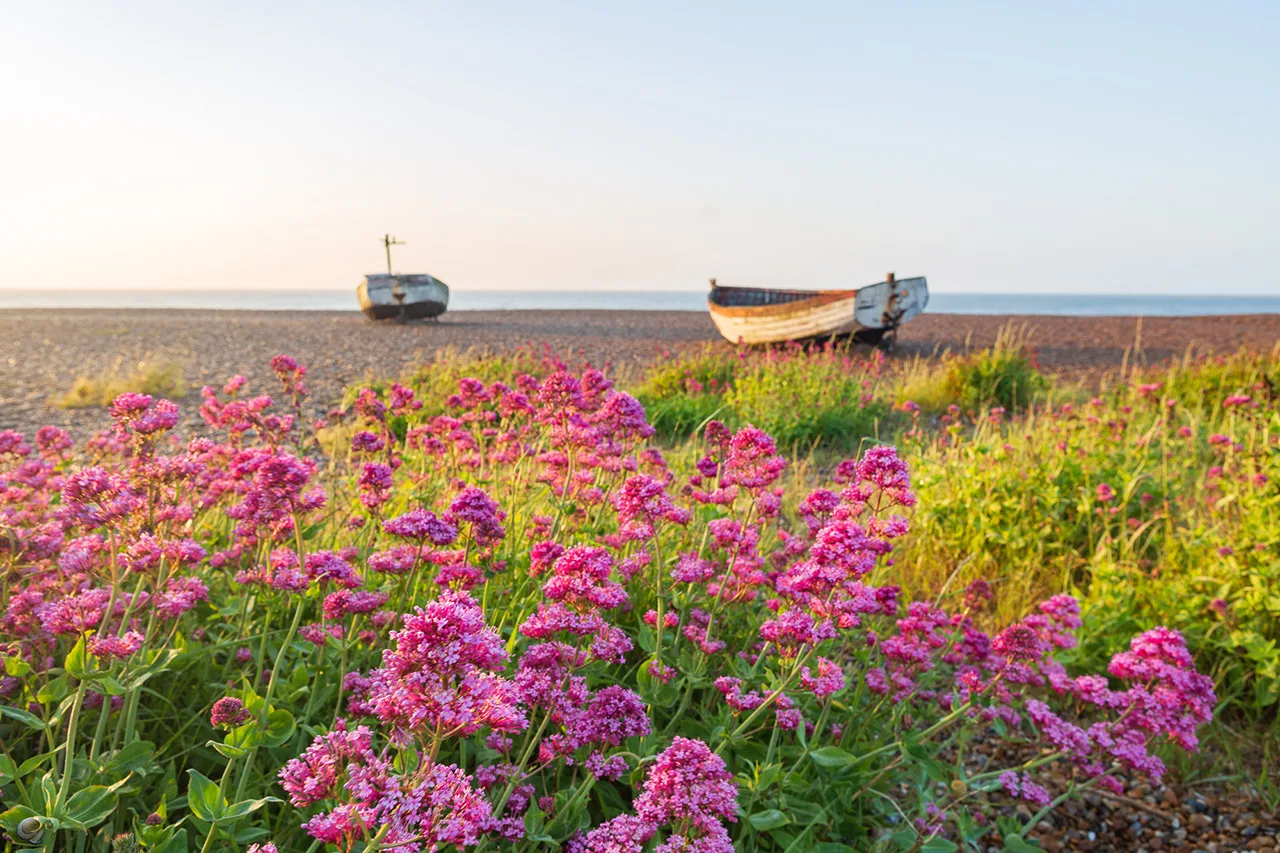
When it comes to outdoor photography, the coast is my first love.
It’s where I really learnt my work flow, in the field and ultimately how to use a camera. That’s the ‘Origin’ of my own work as it is today. The biggest focus of my work, is the first light; those moments where no other souls are awake and the world is preparing for another day. So all of the images I have chosen are taken in the morning, at sunrise or around the first moments as the night turns.
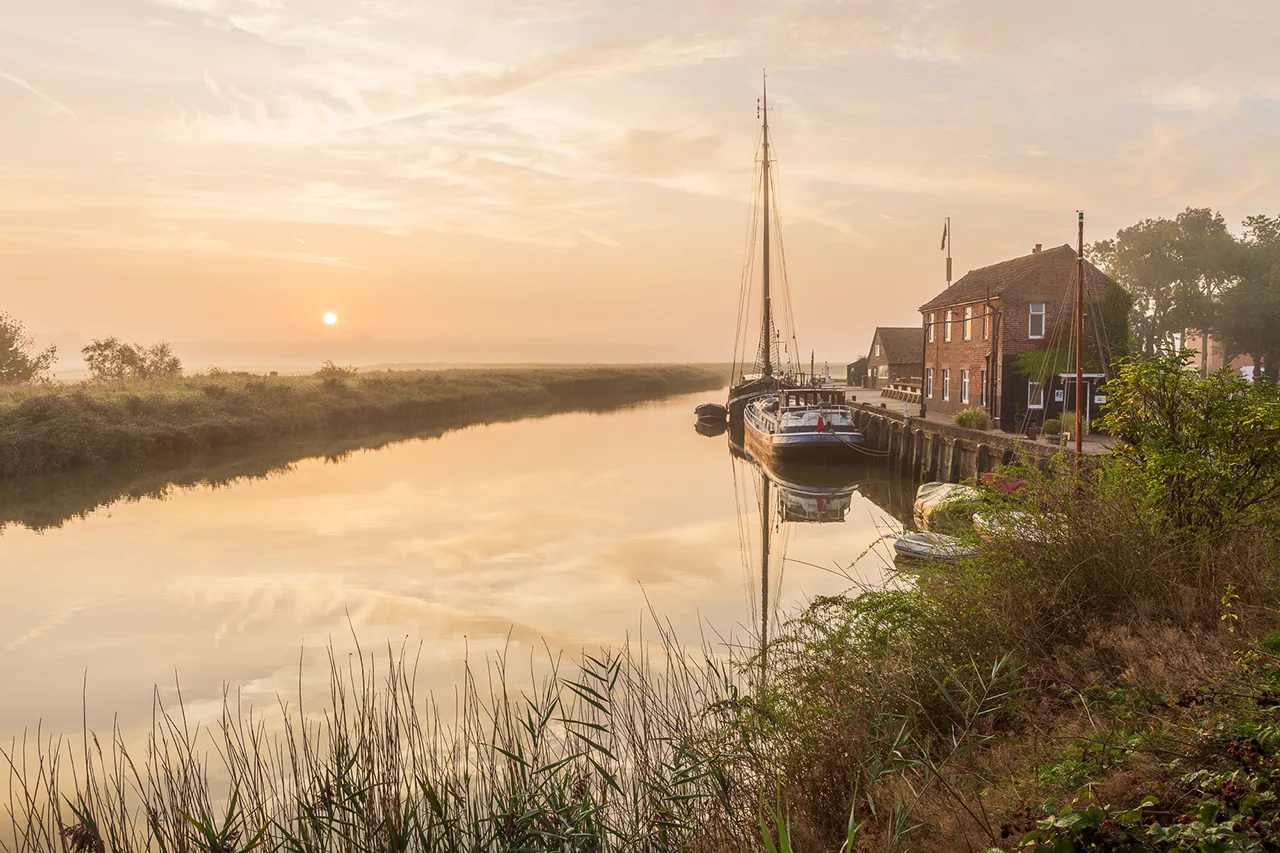
The images follow the coast from north to south, starting in Walberswick. Along the Suffolk coast passing through onto the Rivers’ Alde and Deben. Back along the coast and up river to Pin Mill on the Orwell.
Selecting the images
From the outset, I thought it was best to aim my selection towards the coast and the river banks. A lot my images in my photography journey are from the Suffolk coast. That helped me to narrow my thought process down.
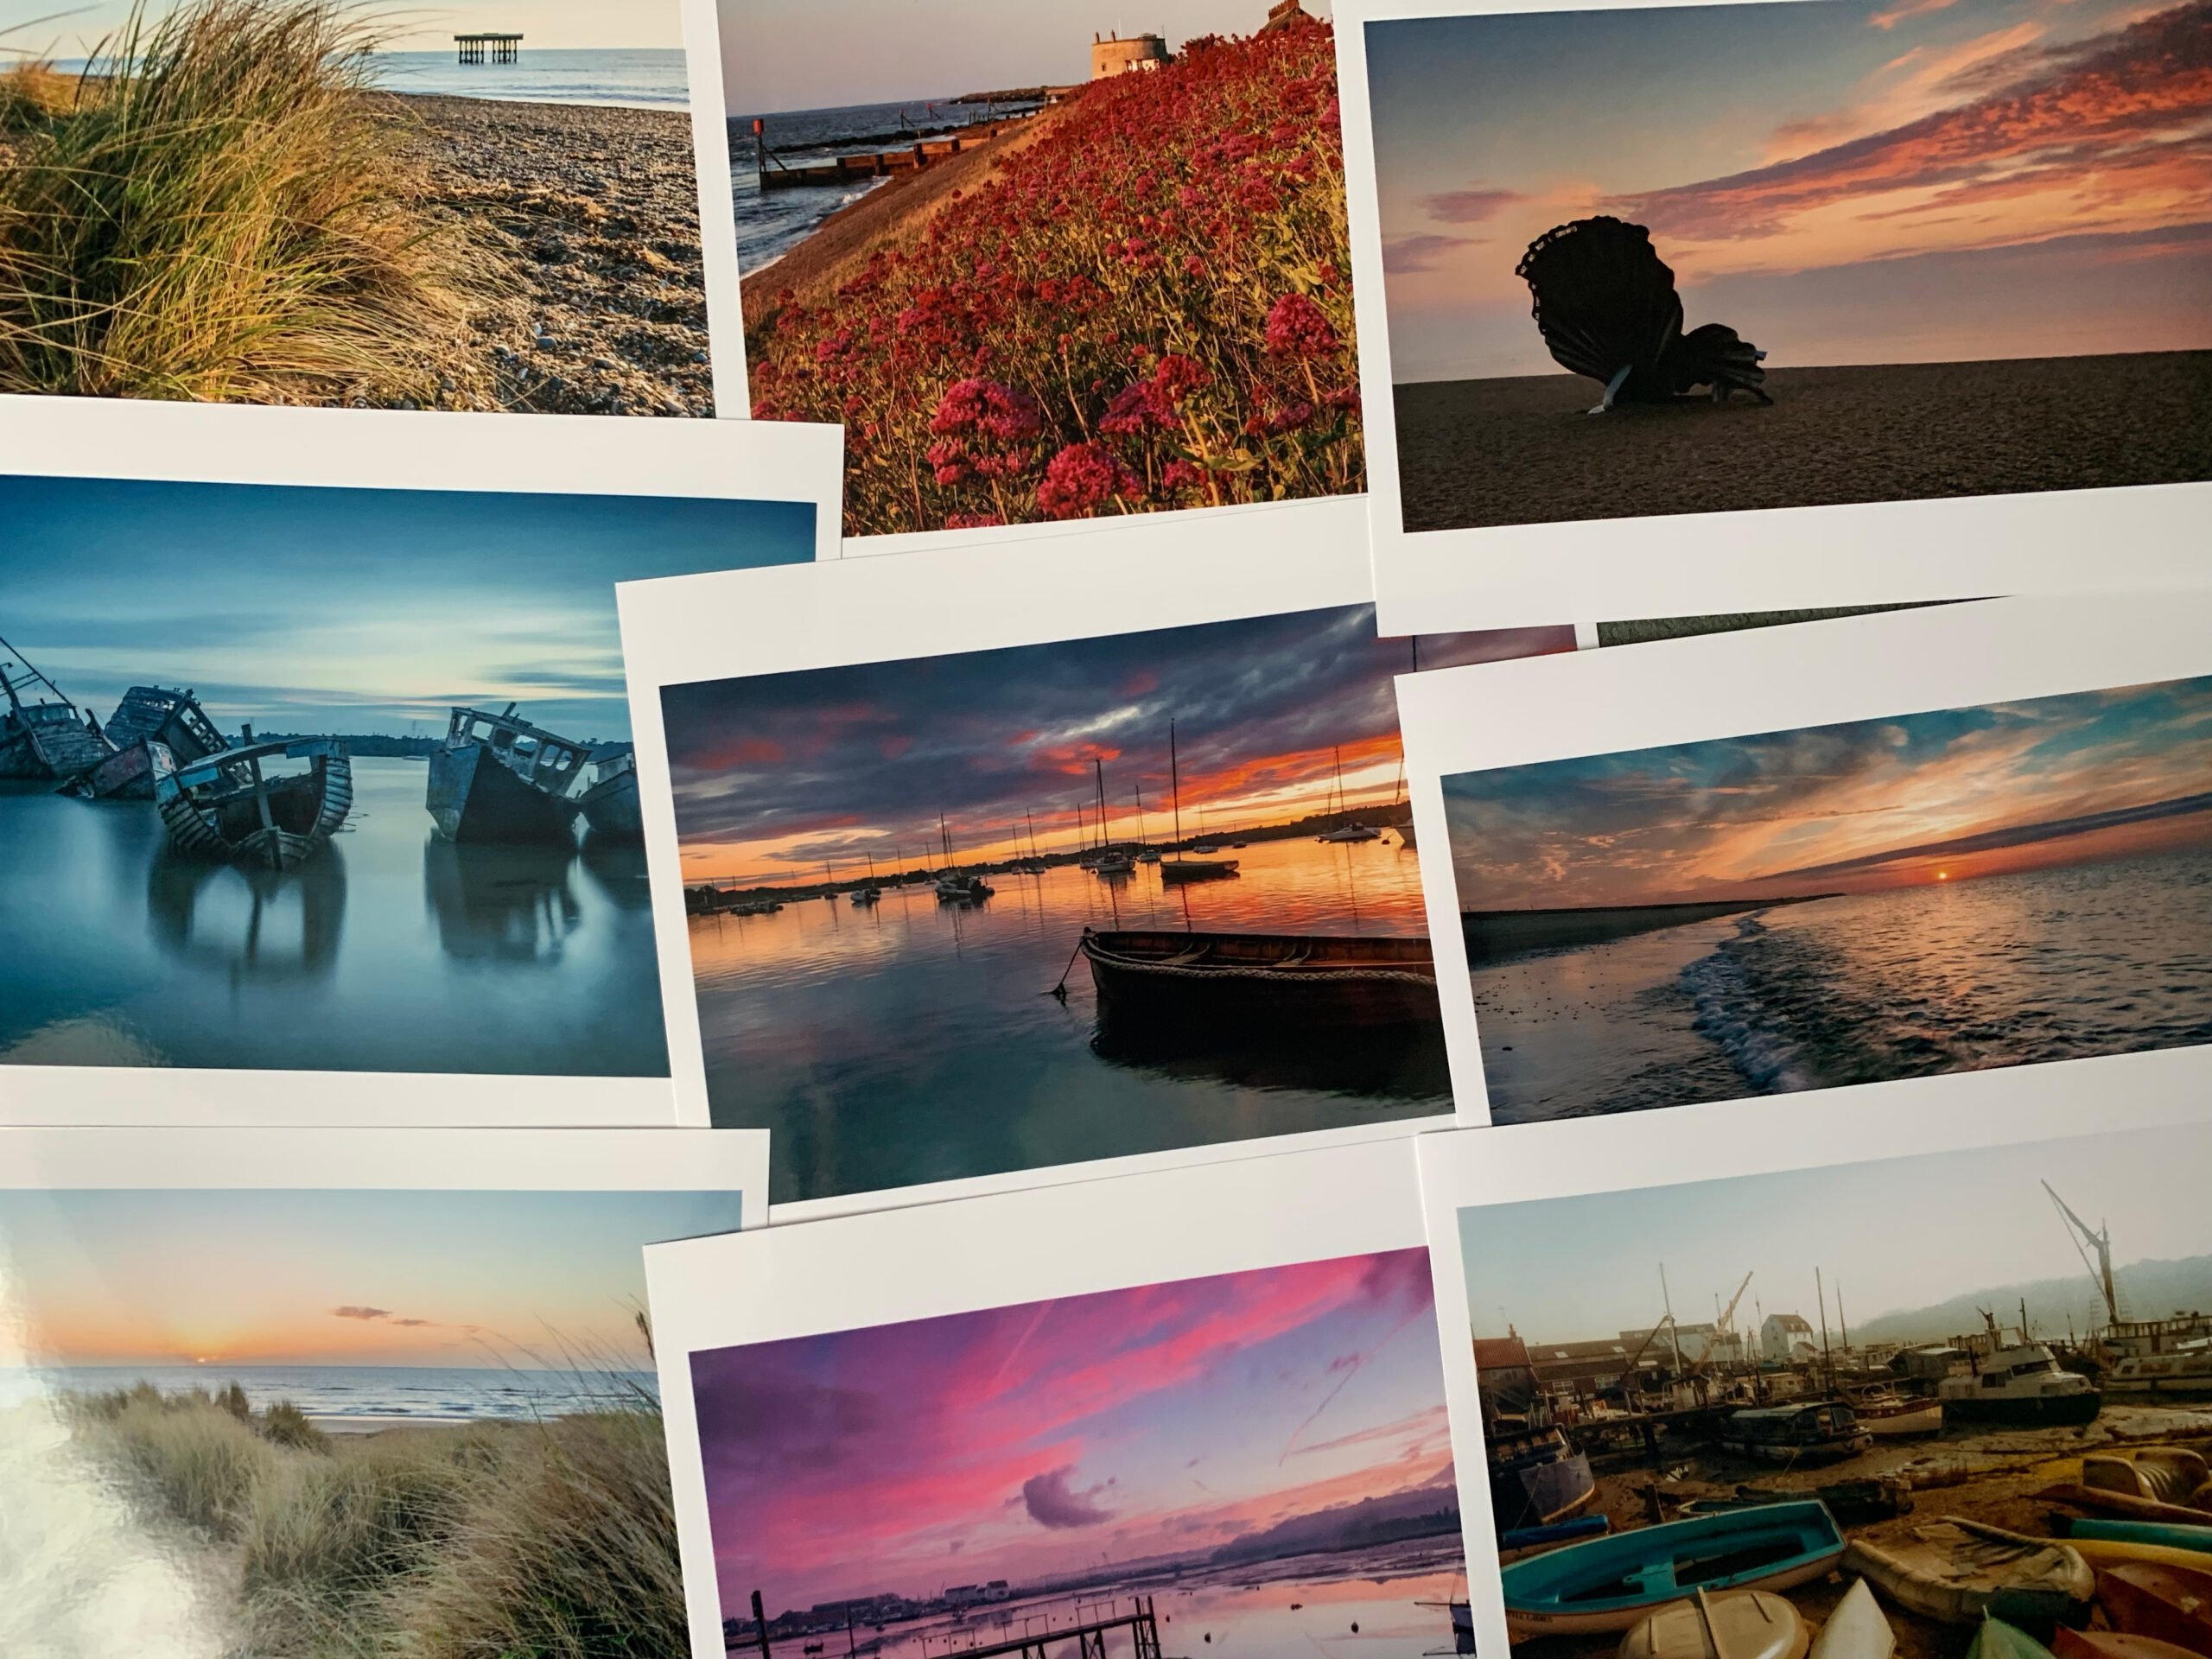
I picked out over 50 images that had potential, some were certain additions from the start and others I selected on merit. Figuring out the number of images I would be showing, based on the space that was available was a key part of the process.

The wall space is something that I knew would potentially help to focus the number of images I would be able to put in the exhibition. So I produced a scale drawing that I could use as a plan for the frames and images. This is a technique I have used before, and makes the whole process a lot easier to know the space.
I found the best way, is to print off the images and then sort them through manually. It’s good exercise, if you are starting to build any sort of collection or portfolio. Getting it off the screen and on paper can be helpful focusing your eye. You notice more in a printed image than you do on a screen.
Planning an order or series

Finding a common thread between the set of images, was where my thinking first went. My idea of where they all lie together is based on the sunrise, all along the coast and shorelines of Suffolk and to use that as the reasoning behind why I selected them. The images that follow the coast from Walberswick to Pin Mill dipping in and out along the coast to the riverbanks and back out to the beaches and shoreline. Using various techniques, at different times of the year they all have there own little stories too.
My recommendation is to try and find a common thread and build from there. Once you find that thread it makes more sense to keep your images within that. It will help to narrow your work down. If you are like me, I have over ten years of image archives to work from. And in this instance, the oldest image is from 2016 and still stands the test of time.
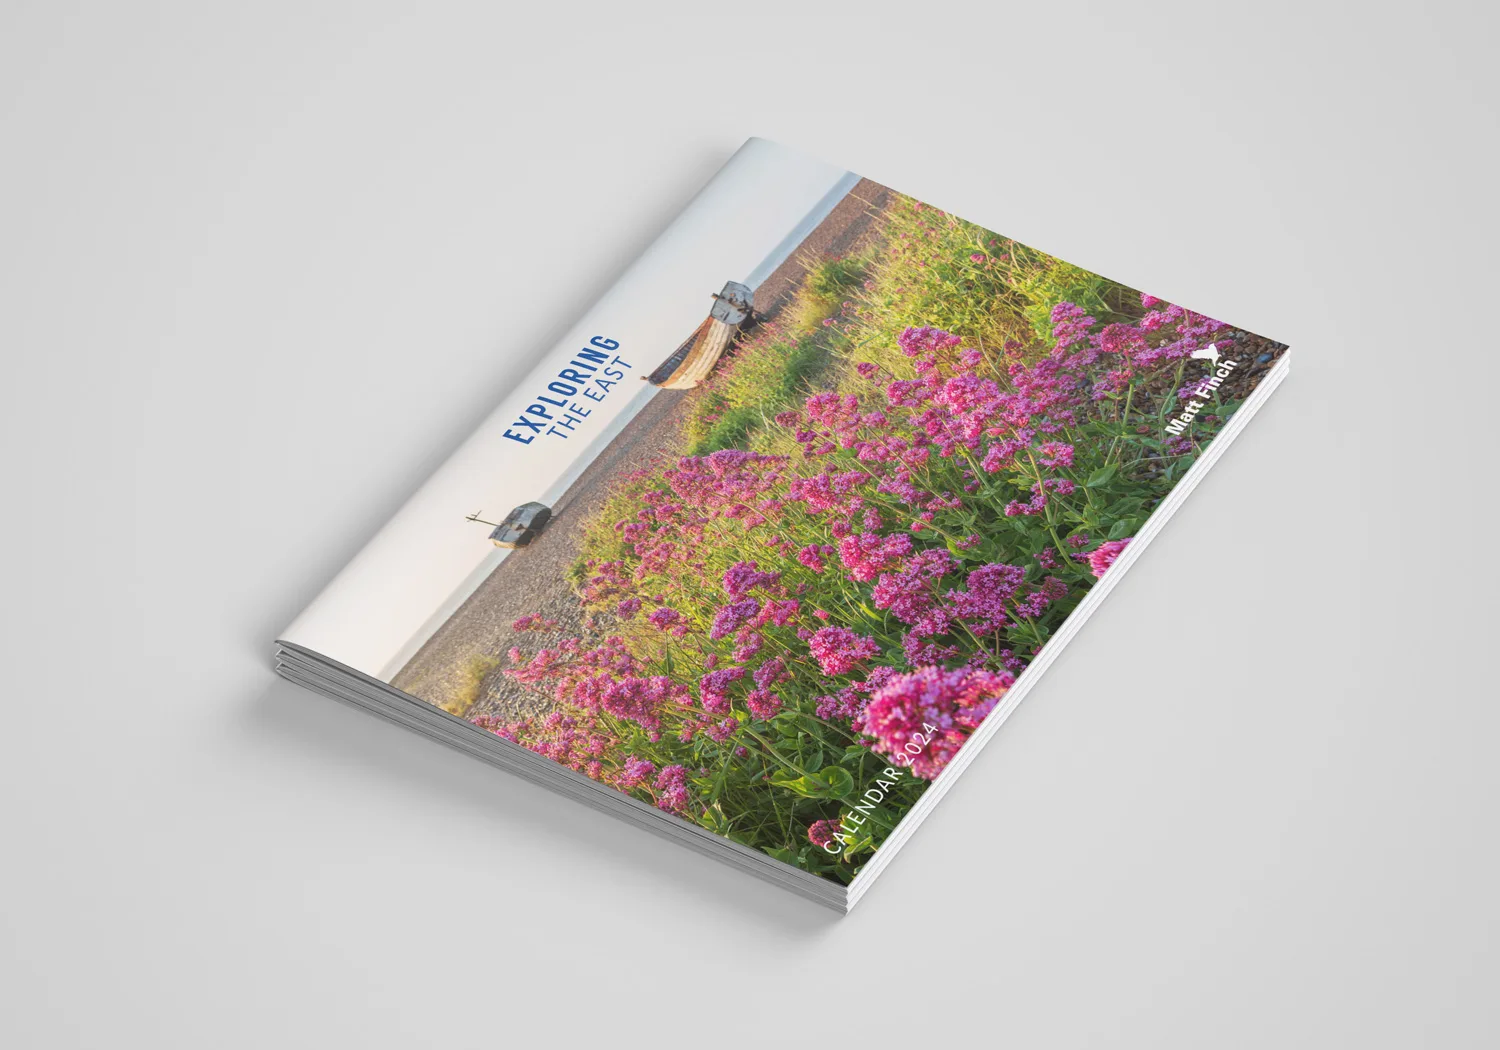
Printing and framing

Due to previous opportunities, I have found a printer who produces images I like, and on a paper that I like too. The paper is Hahnemühle Photo Rag which is a slightly textured paper but not so much that it changes the images.
The printers called Redcliffe imaging as using the, for previous print runs for both my personal work and in a work setting and they to produce a really nice final image.
Personally I feel a frame should either be one that is simple and just holds the images. Or one that is an extension of the image it is holding. My preferred choice for images is a black frame with the white mount. I feel that a black frame grounds an image. The ones I use are from Hobbycraft as they are the most cost effective at the size I require.

If you are prepared to frame the images yourself it will save you money. There are many options out there in terms of company who frame your images, or even print and frame them as a whole service so do what your feel comfortable doing. I personally went for finding a printer and then frame the images myself. But that is a key decision for your preparation for any exhibition.
Tips – Preapartion for the Exhibition
Here are a few tips for getting prepared for an exhibition.
Favourite images
You’ll have your favourite images, but sometimes it won’t be the favourites of the viewer. Find people around who will help you choose those images to exhibit. Or find people who can give you honest criticism. As this will help you to understand which images may be enjoyed but the public.
Know your suppliers
Part of my day to day work is centred around print deadlines and finding suppliers so this come natural to me. I recommend you find a printers who will produce the images you love to see, an image printed is so much better than on a screen. Know their lead times and how long it will take for them to produce it. If you are sending your artwork to a printers, know the print requirements before you order them.
Know your paper
Paper choices are key. Some papers will show off images more than others. So I would recommend getting a sample of each of the papers your printer can print on. It will allow you to see if a texture will help or hinder an image. But also the look and feel of an image is made in the printing of the images.
Prepare for the theme
It’s not uncommon for an collective exhibition to have a theme. So understand the theme, and be prepared to either to get a collection together of your images or respond to the theme. With the former, narrowing your work down will allow you to make informed decisions on what to include.
If you are ever looking at exhibiting and need some advice then do get in touch. I’m always happy to chat to other photographers and artists about their work, and understand the process or to look at producing a collection or portfolio. I hope you’ve enjoyed my preparation for the exhibition, and you get a chance to go and see it when it is open.
I will be releasing a blog when the exhibition is open. This will include stories about the images I have up in the exhibition and a little about when and where you can view it.
No Comments
Sorry, the comment form is closed at this time.